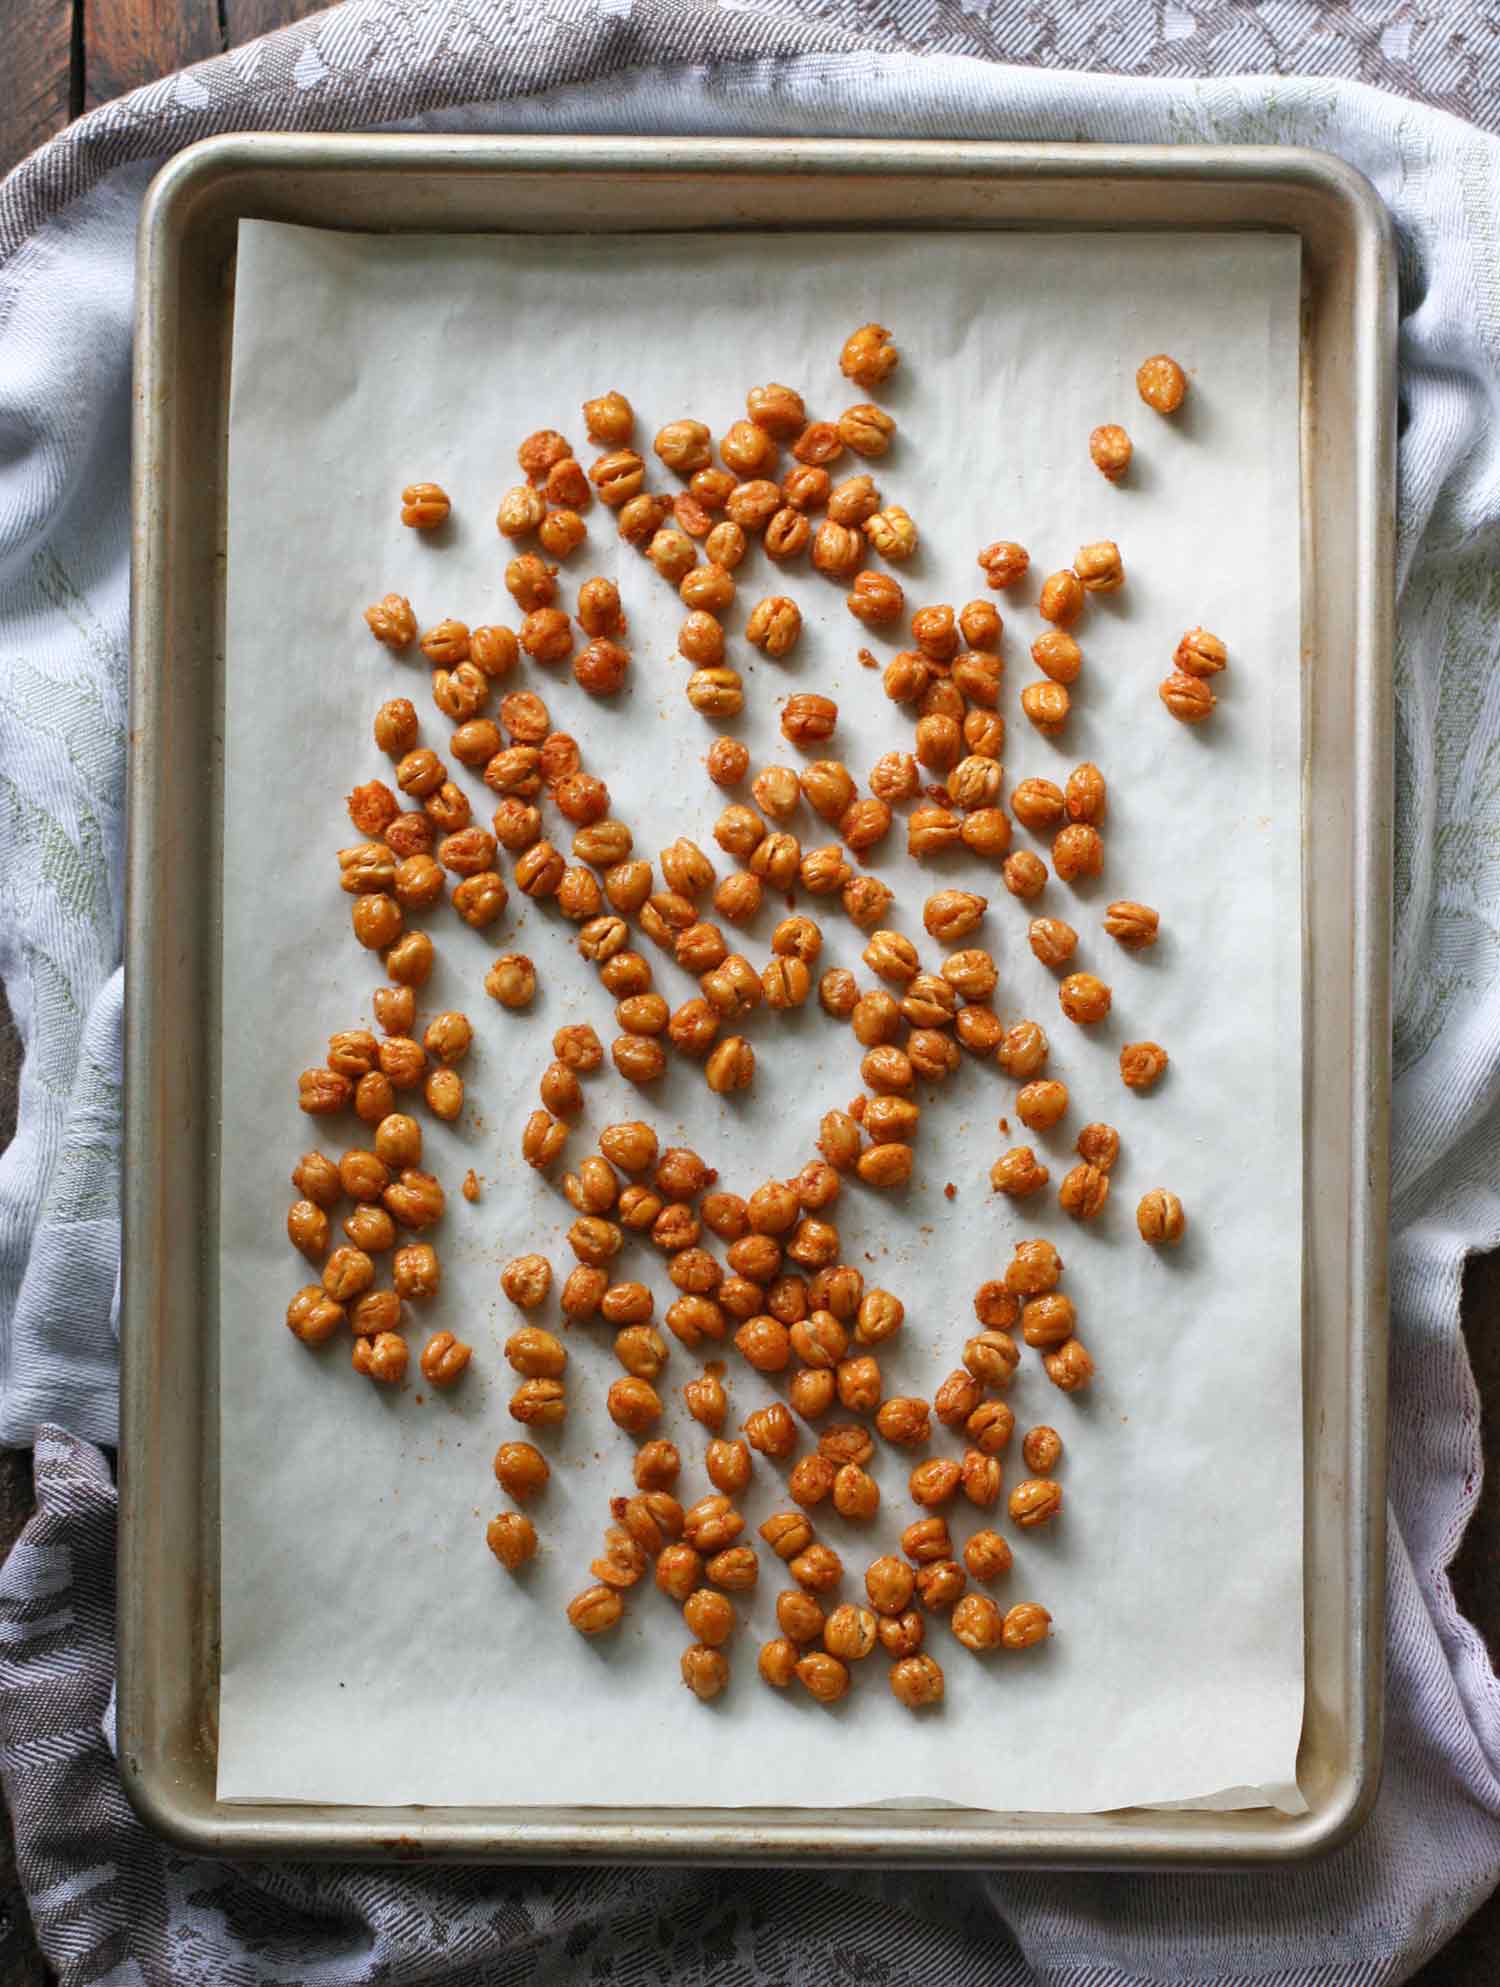
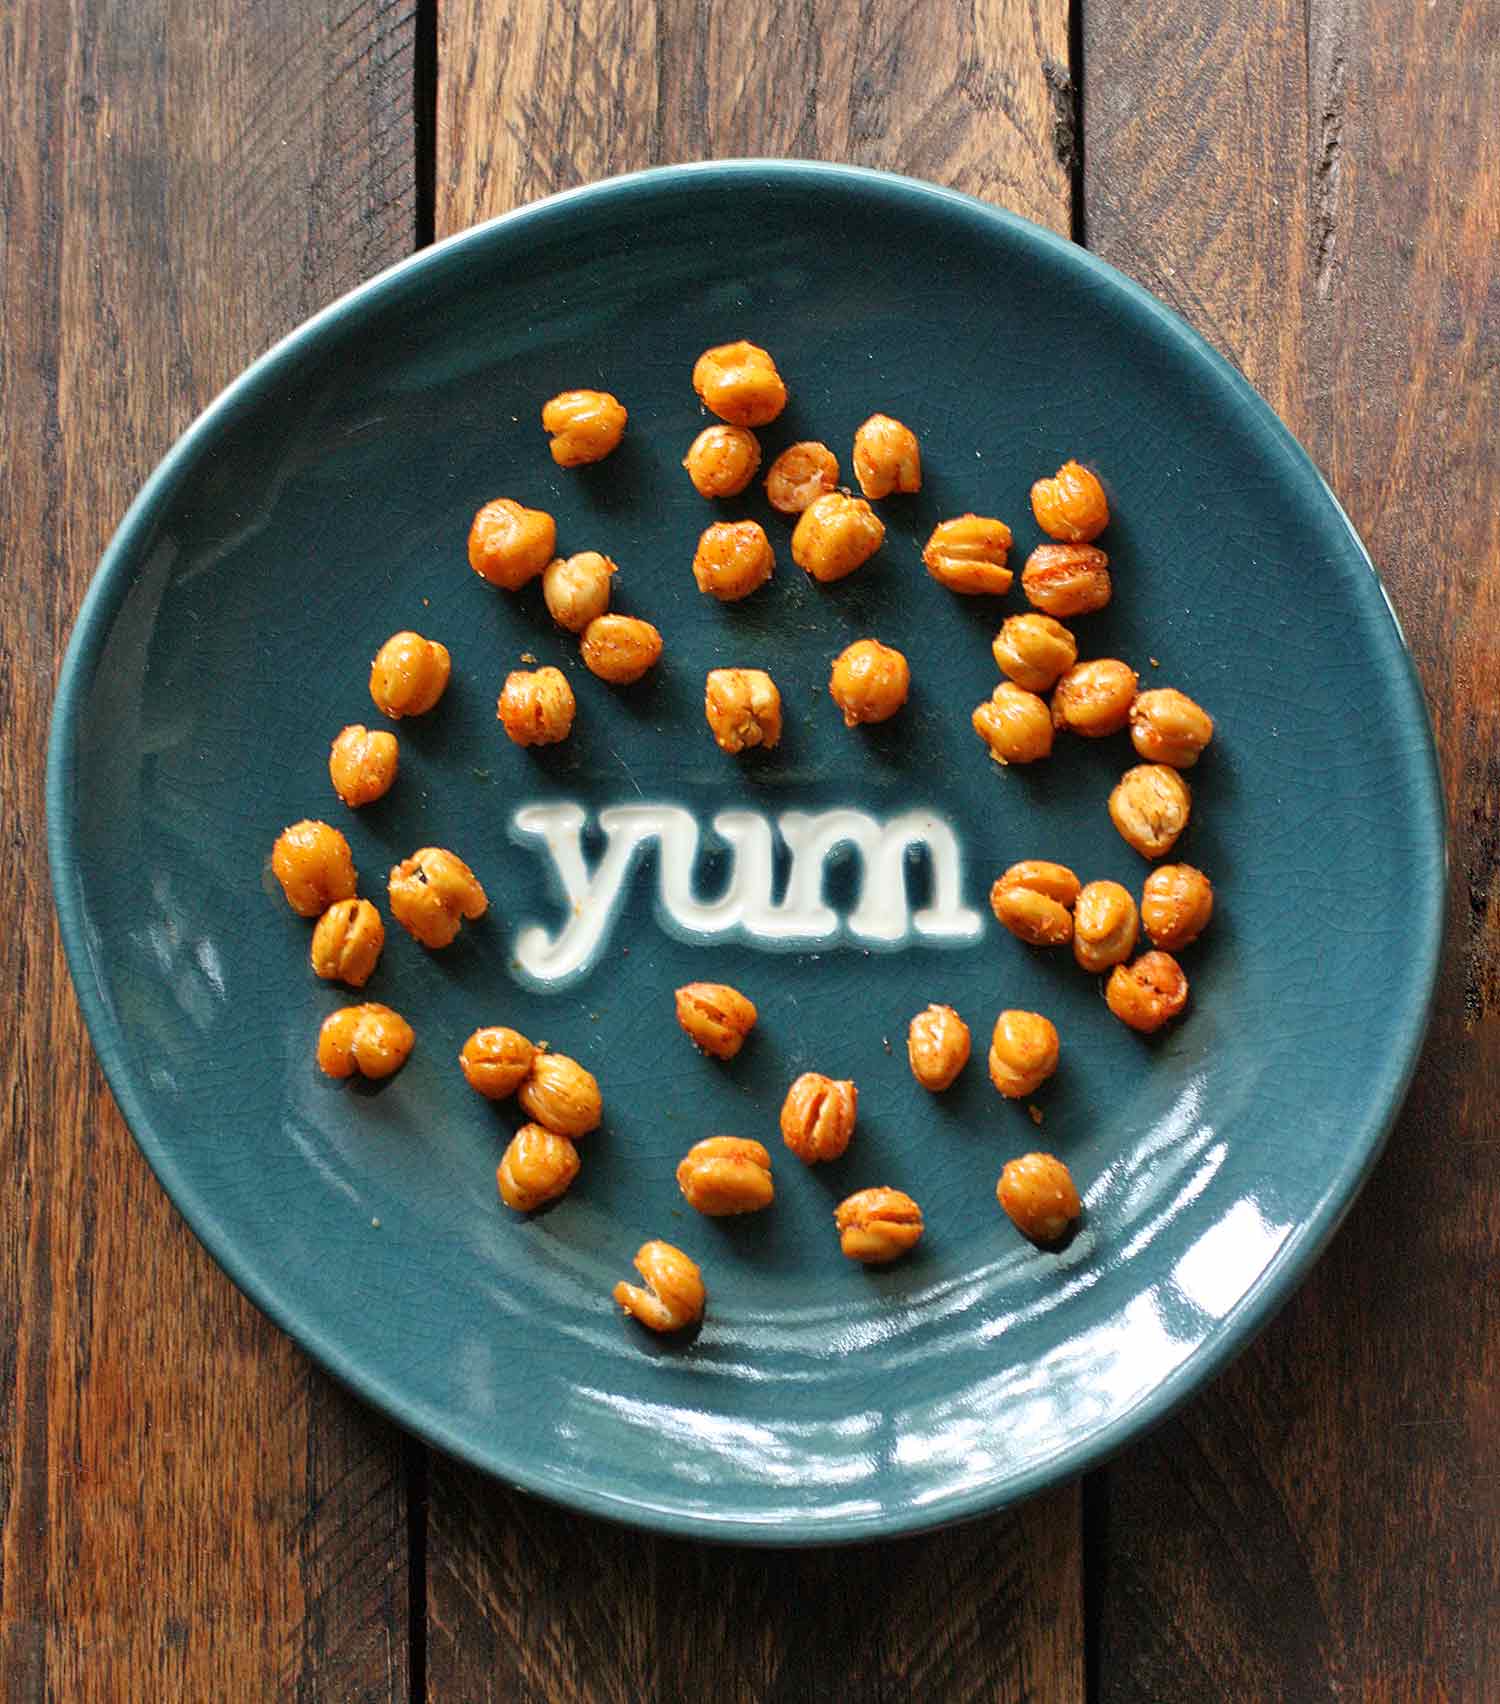
Oven roasted chickpeas seasoned with smoky spices are a healthy snack that everyone will love. Learn how to roast them to crispy perfection, plus tips on how to store roasted chickpeas.

Aren’t crispy, oven roasted chickpeas just the best? They’re an awesome, versatile snack and party appetizer. They go great as toppings for soups, and as “croutons” for fresh salads. The chickpea’s mild, nutty flavor goes so well with a variety of seasonings, from deeply savory and salty to sweet.
I can eat these things like a big bowl of popcorn.
But. The one problem with oven roasted chickpeas is keeping them crispy. They’re perfect out of the oven, but soon revert to the soft state in a matter of hours. After some experimentation, I’ve hit upon a roasting method that keeps the chickpeas crispy long enough to make them worth the effort, plus some storage tips.
The key to maintaining crispiness in oven roasted chickpeas is to dry them out as much as possible without returning them to their super-hard dried bean state: the perfect chickpea snack has an outer layer that’s snappy and crispy (not dried-bean hard), but a tender, toothsome inside.
The challenge lies with the cooking oil, which binds the seasonings to the chickpea. A regular run through the oven will crisp up the chickpea, but the oil easily penetrates the surface, softening up the whole works before you can get your fill. Sadness ensues.

The Secret to Crispy Oven-Roasted Chickpeas
The secret is actually two-fold. We’ll start the technique that’s fun, and then move on to the second step that will make you want to drown me in frowny-face emojis.
First, we’ll double-roast the chickpeas, and create the seasoning blend in the form of a paste that uses a small, small amount of oil.
The first roasting occurs at a low temp and dries out the surface of the chickpea without really cooking it further. The second roasting — bare, no oil — crisps them up perfectly. Then you toss the hot-hot-hot chickpeas with the seasoning paste and let them cool a bit to set.
Second, you really need to peel the cooked chickpeas (*ducks*). I know. It sounds like the most pretentious thing. But here’s the deal:
Each chickpea is wrapped in a loose outer skin. And while that skin is not a problem in cooking — say, chickpeas in a rice bowl — the skin is thin and moist and will create and trap steam around the bean while roasting in the oven.
Steam + chickpea = soft chickpea. Not crisp chickpea.

I realize I might be the total weirdo here, but I actually find peeling chickpeas to be kind of a zen experience. It’s really easy and no prep is required:
Hold the chickpea between your thumb and forefinger and pinch. The bean will slide right out of the skin. It’s my bubble-wrap popping kitchen meditation.
A faster method is to spread out the chickpeas on a baking sheet and rub them with a kitchen towel or paper towel. Most of the skins will be loosened, and you can pluck them out.
The verdict?

Can You Use Canned Chickpeas?
Yes! I experiment with both freshly cooked chickpeas and canned chickpeas, because they’re very convenient. In fact, this recipe assumes canned chickpeas because, honestly, I’m not always foresightful enough to cook up chickpeas in advance.
The whole process with canned chickpeas takes about an hour and a half, with an hour of it being hands-off oven time.
How to Store Oven Roasted Chickpeas
Without the use of a commercial desiccant — those small packets that you’ll find enclosed in certain food and medicine packaging, like ibuprofen — no chickpea is going to stay perfectly crisp indefinitely. But there is definitely a way to prolong seasoned, oven-roasted chickpeas for more than one day.
- Plastic bags: Oh my goodness no. In my test, my perfectly crispy chickpeas lost their crunch merely an hour after being added to a plastic baggie, from which I squeezed out all the air. The next day, they weren’t soggy, but they weren’t crunchy-crisp either and tasted mildly stale to boot. Just, no.
- Glass containers: This method fared surprisingly well. I added chickpeas to a small container with a tight-fitting lid, leaving plenty of headroom in the jar. They tasted great for the entire first day and lost only part of their crispiness overnight. No stale flavors.
- Room temp, out in the open: Clearly the winner. I placed the chickpeas in a bowl and laid a paper towel across the opening (just to keep random particles and crawly critters away). If you use shelf-stable ingredients (i.e., don’t smear them with butter or something), they should last a couple of days with no problem.
My completely unscientific conclusion is that air circulating around the chickpeas keeps the wet nature of the oil paste in check. I didn’t make enough chickpeas to test filling a glass jar completely to the rim and sealing it tight. I would expect that they would come out similar to the plastic bag.
Enjoy!

Recipes that use Oven-Roasted Chickpeas
- Summer Cauliflower Power Salad
- Vegan Caesar Salad
- Summer Chopped Salad With Burrata and Dreamy Dill Buttermilk Dressing
The Best Oven-Roasted Chickpeas
Ingredients
- 1 can chickpeas/garbanzo beans (15 ounces)
- 1 scant teaspoon olive or coconut oil
- 1/2 teaspoon nutritional yeast (optional)
- 1/4 teaspoon smoked paprika
- 1/8 teaspoon powdered garlic
- 1/8 teaspoon fine sea salt
Instructions
- Preheat oven to 200°F.
- Dump the chickpeas into a strainer and rinse until the foaming stops and the water runs clear.
- Remove as many skins as possible by rubbing them with paper towels. (Skins can also be “pinched” off by squeezing a chickpea between forefinger and thumb.) Dry the chickpeas on a towel and transfer to a rimmed, parchment-lined baking sheet.
- Dry roast the chickpeas in the oven for 30 minutes.
- Remove and bump up the heat to 350°F. Let the chickpeas cool while the oven heats. Give the pan a swirl to reposition the chickpeas
- Return to oven and bake for an additional 30 minutes. (If you think of it, give the pan a shake at 15 minutes to “turn” the chickpeas.)
- During the last 10 minutes of the second bake, heat a small skillet over medium heat. Add the oil and heat until slightly shimmering. Add the seasonings to the oil and “smoosh” them into the oil using a small spatula to form a loose paste. You might be tempted to add more oil, but don’t. As long as all of the spices incorporate into a paste, you’ve used plenty of oil.
- Remove the chickpeas from the oven at the 30 minute mark and immediately pour them into a medium mixing bowl. Add the seasoned paste, and stir until the chickpeas are completely coated with the seasonings. Return the chickpeas to the hot baking sheet and spread out in a loose single layer to cool.


Bernice
Friday 2nd of February 2024
Can you put into dehydrator to prolong crispy and shelf life?
Karen - SoupAddict
Wednesday 7th of February 2024
I don't have a dehydrator myself, but I think it would be worth the experimentation. Maybe make a batch and try half with the hydrator?
Diana Cortez-Kisinger
Saturday 16th of January 2021
So I roasted 3 cans of garbanzo beans with the hope in giving them to my son to snack on at work. After about 2 hours of preparing and roasting them, they tasted great right out of the oven but lo, the final result is a bowlful of soft roasted garbanzos. I will not give them to my son in this unpalatable soft condition. Anyway it was a teachable experience in roasting garbanzo beans.
Lauren
Saturday 28th of November 2020
I followed the recipe but they came out chewy directly out of the oven. Thoughts??
Lauren
Thursday 2nd of July 2020
So it’s okay to Not refrigerate them? I found an article that said they should Be left out for more than 4 Hours... I’ve been eating them for the past 2 Days :/
SoupAddict
Thursday 2nd of July 2020
Fair question. You can google food safety for chickpeas, but, as an example, the bagged roasted chickpeas you buy at the store do not require refrigeration. But, of course, erring on the side of safety is never a bad thing.
Suzanne Shirley
Saturday 18th of April 2020
This is really good! I think I’m addicted!