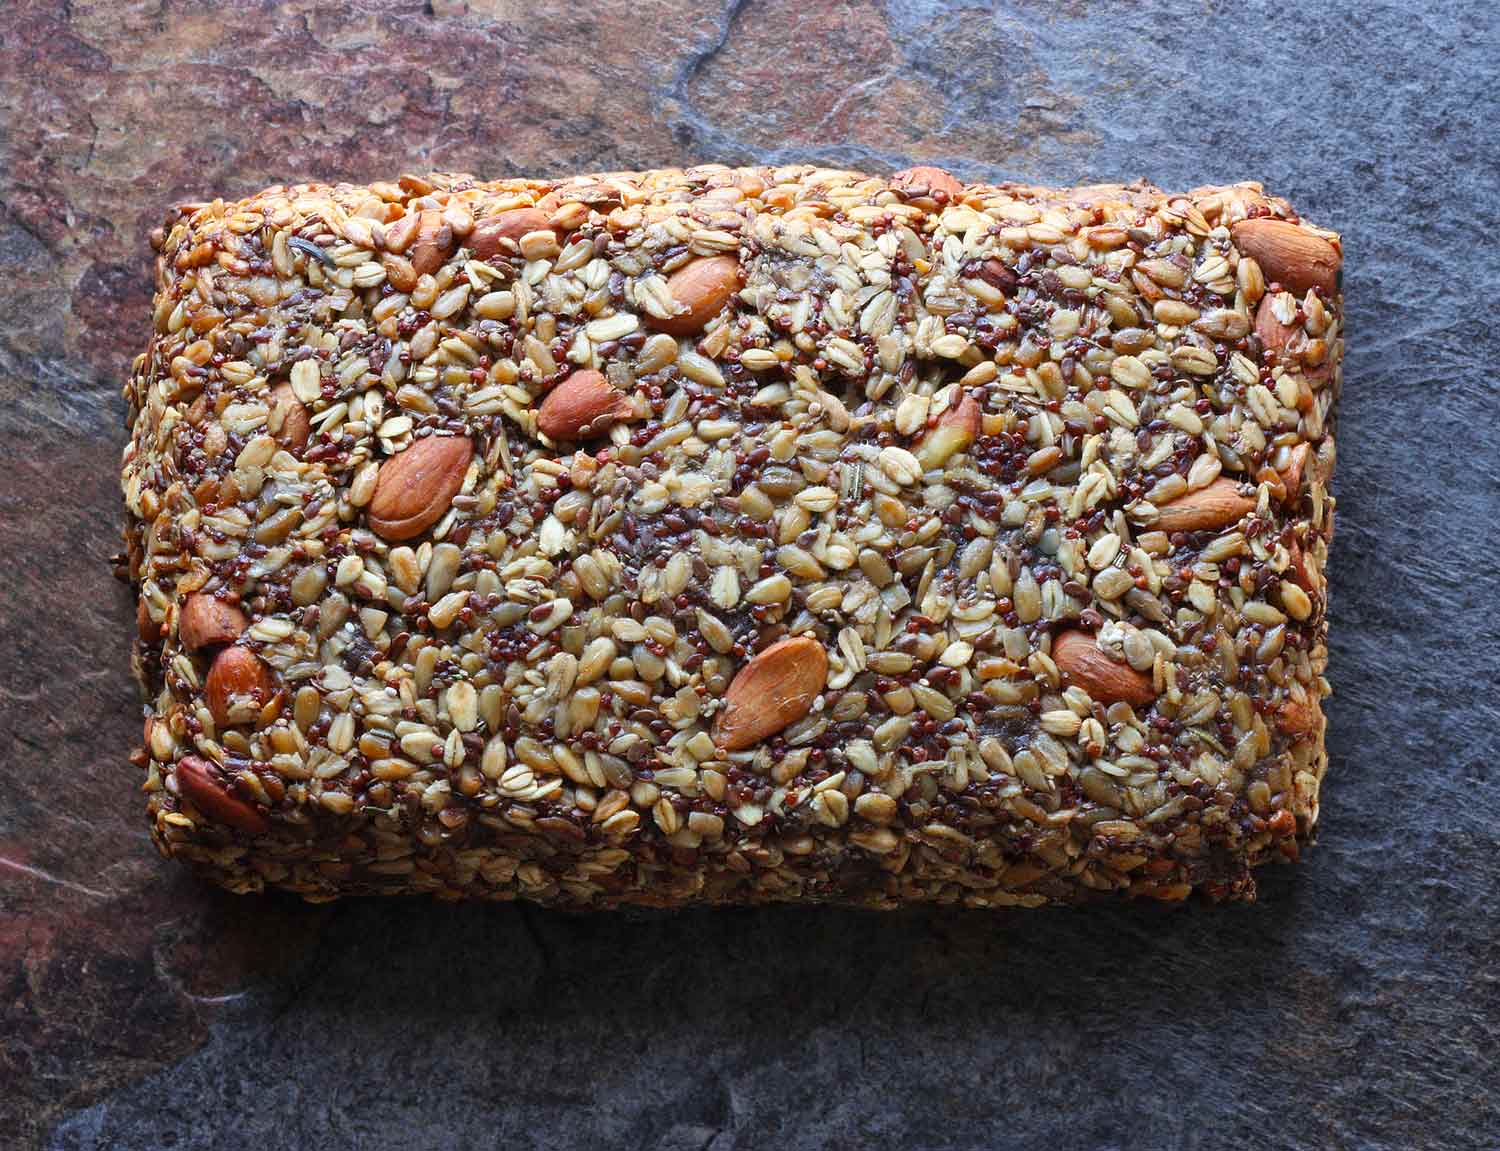
A delightful alternative to flour-based bread, this seed and nut loaf has no flours at all and holds together with natural and healthy ingredients that are like … magic.

More than a decade ago, I maintained a second food blog that focused on healthy living. At the time, I was a vegetarian and enjoyed seeking out interesting recipes that looked at the foods I loved in a new way.
One recipe I found that immediately went on my must-try list was a “bread” made completely of whole nuts, seeds, and oatmeal. No wheat or grain flours. I was completely fascinated by this impossible-sounding loaf.

At the time, I was trying to cut back on gluten — especially on questionable white bread — and while this loaf was obviously not a replacement for buns or sandwich bread, it ended up creating its own place in my repertoire as a lovely sort of snack cracker.
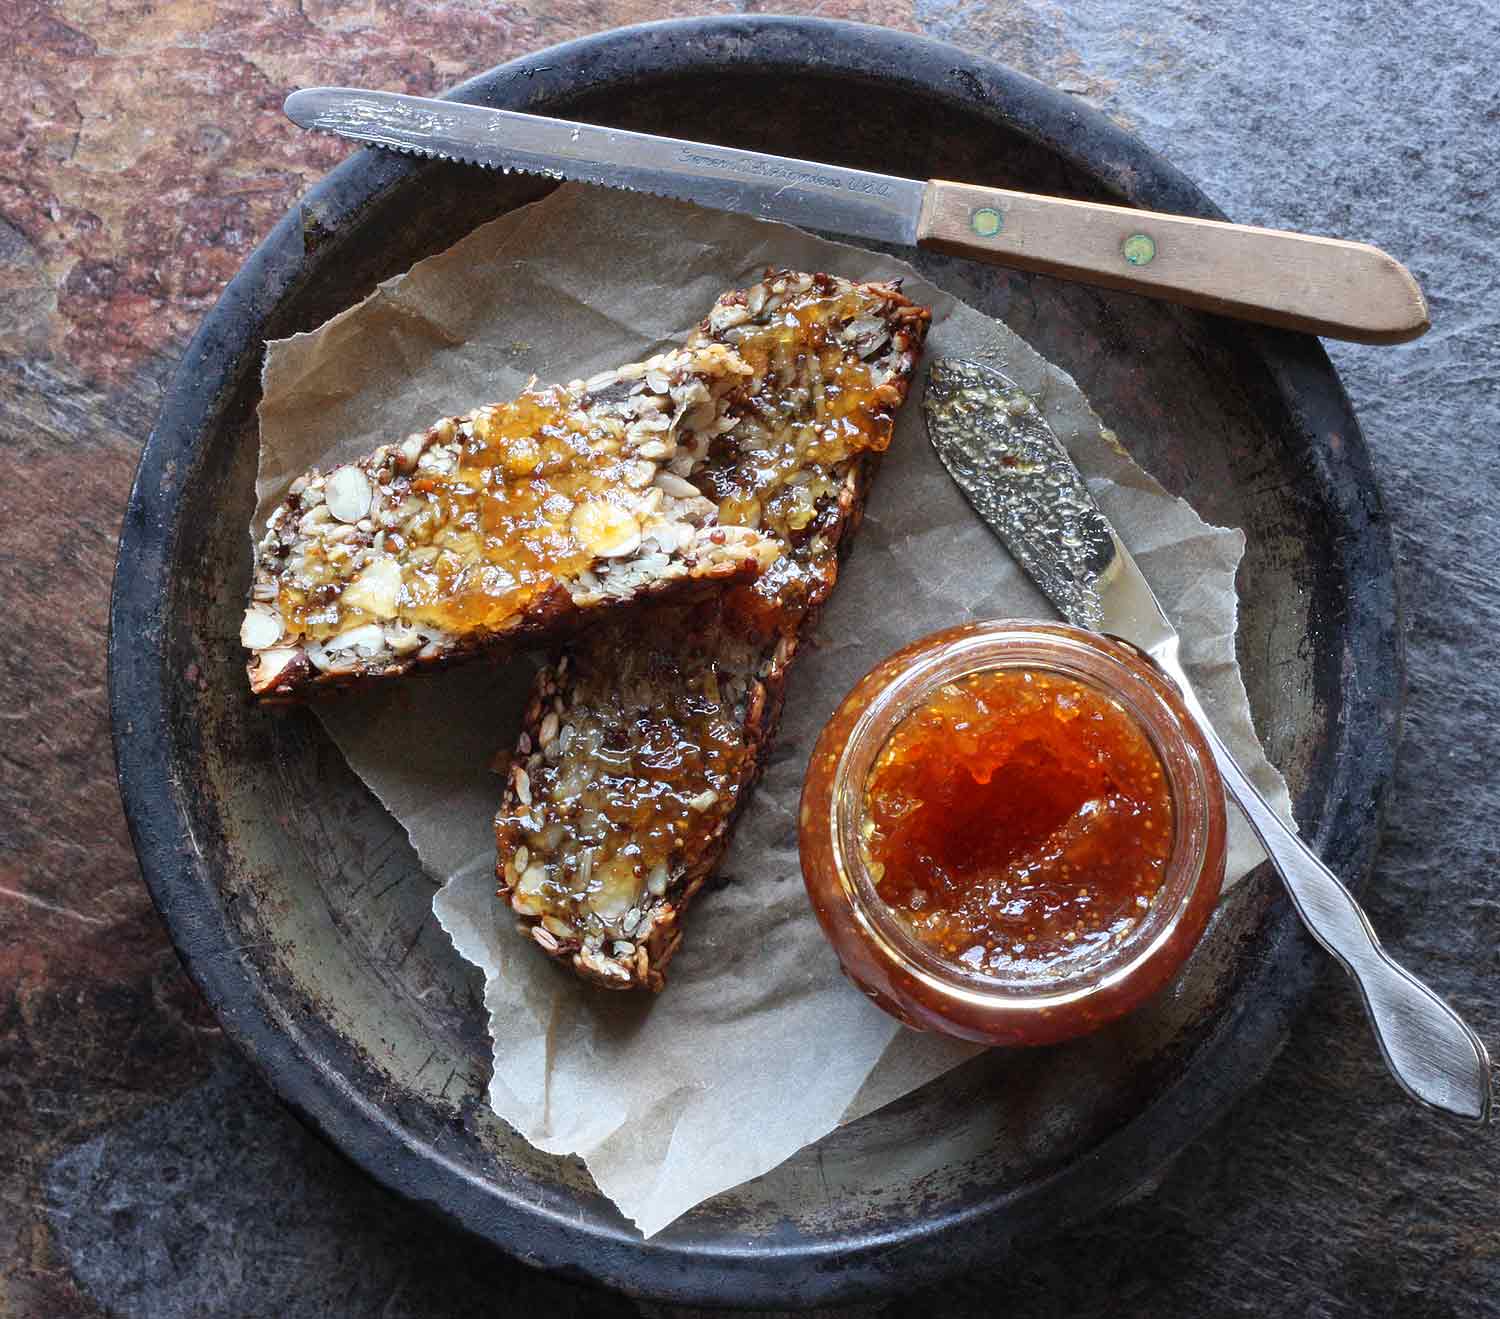
As you can see in the photos below, it’s the perfect foundation for butter and marmalade and spreads. These days, it would give avocado toast a run for its money.
Over time, I drifted away from the recipe due to life’s busy-ness and then forgot about it completely. But recently a friend texted me, “you have to try this!” And lo and behold, she included a link to Sarah Britton’s Life-Changing bread, the inspiration for this Magic Seed and Nut Loaf. Lol.
Now when I look at this recipe through today’s eyes, I’m reenergized by its suitability as a side to a lovely bowl of soup. You know, those hearty soups that are a complete meal, but you still want to have a little something to nibble on, on the side.
This loaf is that perfect nibble.

Ingredient Notes for Magic Seed and Nut Loaf
Nuts: One of the beauties of this recipe is that I’ve experimented with various nuts beyond the almonds or hazelnuts suggested, as the whims struck. My favorite addition is probably pistachios. Just a quick, rough chop, and … yum.
In fact, while I’m thinking about it, although the recipe calls for whole nuts, I actually preferred the loaf when the nuts are broken down ever so slightly. Not pea-sized. Just one knife chop. Or used pre-halved nuts. The photos you see on this page are from my initial post more than 12 years ago, and you’ll clearly see the whole almonds.
But if you have the gumption, give the nuts a super basic chop. And big thumbs up to an almond-pistachio blend!
Flaxseed and Chia Seed: These two ingredients serve not one, but two noble purposes in this recipe. Their health benefits are well known, so their presence in this loaf is very welcome for that reason alone.
But they have another quality that’s critical to the success of this loaf: when soaked in liquids, both of these seeds break down into a glutinous mass that thickens a recipe quite effectively.
Since this is a recipe without flour, and contains such hefty ingredients as nuts and sunflower seeds, we need extra holding power to keep the loaf solidified.
Flaxseed and chia seeds rise to that challenge wonderfully (along with another ingredient below).
Rolled Oats: Oats give body to this loaf and a more familiar texture than 100% nuts and seeds. It also helps the slices form a more consistent surface on which to spread delicious toppings.
Psyllium Husks: This was the ingredient that completely floored me and made me want to try the recipe, stat. Psyllium husks are the primary ingredient in products like Metamucil, as they’re full of soluble and non-soluble fiber and keep things, um, moving smoothly through the digestive tract.
It never would’ve occurred to me to use them in a recipe, but it makes total sense. Like the seeds above, when mixed with liquids, psyllium husks (or powder) expand and become a thick gel.
In the body, it moves things out of the digestive tract. In this loaf, it holds everything together like a gentle glue, without adding weird flavors.
How to Make the Magic Seed and Nut Loaf
It was interesting to revisit this recipe again so many years later. The original version on my other site had a few extra steps that, over time, I ended up combining. For example, I used to soak the seeds and nuts overnight first, before mixing everything together, and then resting again.
But, I discovered that the first soak wasn’t really necessary and skipped right to the part of combining everything together and stuffing it right into the pan. So, the recipe here reflects my updated preparation of this loaf.
Step 1: Mix the dough and let rest
Combine the dry ingredients together in one large bowl, and whisk the wet ingredients together in another small bowl. Then pour the wet into the dry and mix well with a sturdy spoon.
The dough will be stiff and awkward. But if it becomes too thick and unmanageable, add teaspoons of water, one at a time, until the dough can be at least folded. (But don’t go too far and make it a goopy mess!)
Scrape the dough into a silicone loaf pan — or a metal pan that’s been oil and lined with parchment paper, leaving handles hanging over the long edges. Push the dough into the corners and level out the surface as best you can.
Let the pan sit on the counter for at least 2 hours, or overnight.

Step 2: The Bake, Part I
When you’re ready to bake the loaf, preheat your oven to 350ºF and set a rack in the center of the oven. Bake for 20 minutes, then remove.
Step 3: The Bake, Part II
For this step, I highly recommend using an oven-proof metal cooling rack (like what you use for cakes), because you have to turn the loaf out of the pan and put it back into the oven, upside-down. The loaf is somewhat fragile at this stage, and a cooling rack will provide stability for it.
With cooling rack: Place the cooling rack upside-down on top of the pan and turn both over in one swift move. The loaf should release onto the cooling rack, upside-down. Put the cooling rack, with the upside-down loaf, back into the oven, and back for another 30 to 40 minutes.
If you don’t have a cooling rack, carefully turn the loaf out of the pan. Or, if you have parchment paper handles, lift out the loaf and then invert. Return the loaf, upside-down, to the oven, directly on the rack.
Take care to guard your hands from hot surfaces, and keep the loaf undamaged. Bake for another 30 to 40 minutes.
Start checking the loaf at the 30-minute mark. The nuts and seeds should be golden, and the loaf should sound hollow when you tap on it.
Step 4: Cool & Set
Remove the loaf from the oven and set it aside to cool completely. The loaf will not slice well when fresh out of the oven! It needs time to cool all the way through and set. Slice with a sharp, serrated bread knife.

I don’t want to neglect to mention that soaking nuts and seeds for a stretch causes them to begin sprouting, which unleashes even more healthy qualities of each ingredient. Here, we’re not actually soaking the nuts and seeds in water, as you would in the first step of formal sprouting.
But the “dough” is quite moist and the long rest before baking allows them to start the sprouting process. Just a little extra health boost with no extra effort!

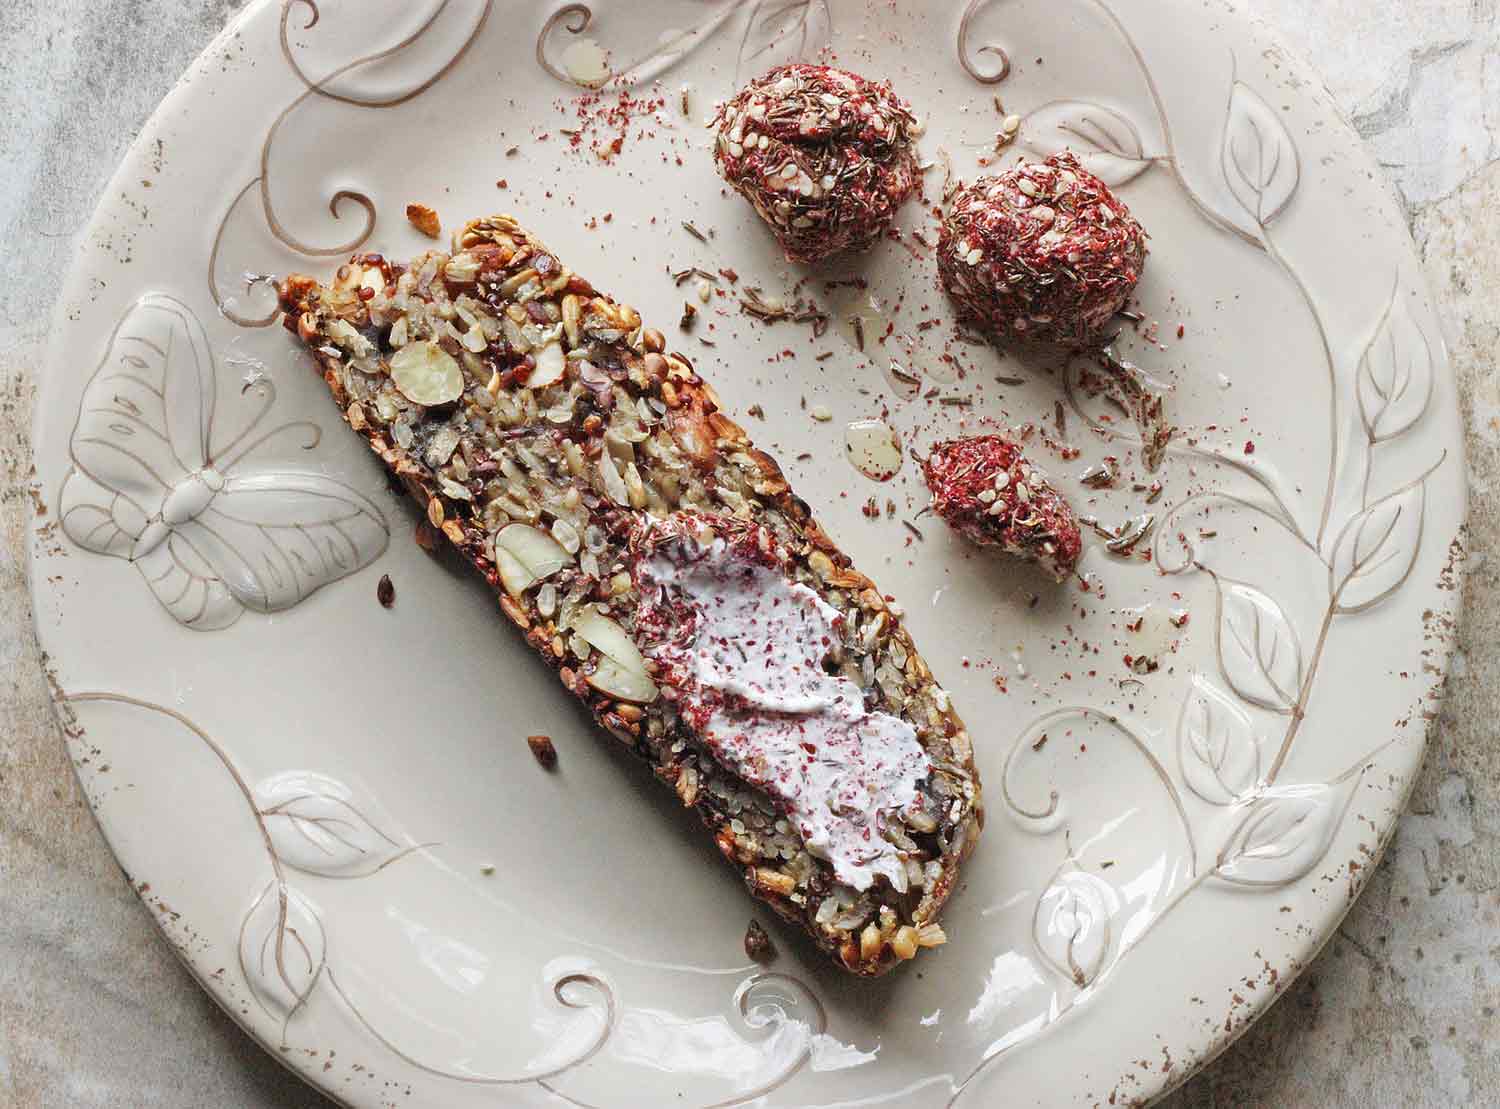
In addition to being a side for soup, it’s also a unique addition to a party platter or brunch. I highly recommend toasting your slice and then spreading it with something decadent, like a homemade marmalade or labneh and za’atar, shown above. So delish!

More Soup Sides to Enjoy

Magic Seed and Nut Loaf Recipe
Ingredients
- 1 cup sunflower seeds
- 1/2 cup almonds or hazelnuts (or a mix of both)
- 1/4 cup uncooked quinoa
- 1/4 cup flaxseed
- 2 tablespoons chia seeds
- 1 tablespoon hemp hearts
- 1 1/2 cups rolled oats
- 1 tablespoon fresh rosemary, minced (or use 1 teaspoon dried), optional
- big pinch Kosher salt
- 4 tablespoons psyllium seed husks (or 3 tablespoons psyllium husk powder)
- 1 tablespoon maple syrup
- 3 tablespoons melted coconut oil or ghee
- 1 1/4 cups hot water
Instructions
- In large bowl, stir together all of the dry ingredients.
- In a separate bowl, whisk together the maple syrup, oil/ghee, and water.
- Pour the liquids into the dry ingredients and mix well. The bread “dough” should become thick and well-moistened. If it’s too thick to stir, add more water a little at a time.
- Scrape the dough into a silicone loaf pan*, spreading it evenly in the pan, and smoothing down the top. Let rest on the counter for a minimum of 2 hours (overnight is fine!).
- When ready to bake, position a rack on the center of the oven and preheat to 350ºF.
- Bake the loaf in the pan for 20 minutes. Remove from the oven and carefully turn the loaf out of the pan and return just the loaf, upside down, to the center rack. Note that the loaf is somewhat fragile at this point. If you have a metal, oven-safe cooling rack, I recommend flipping the loaf pan onto the cooling rack, and then returning the upside-down loaf on the cooling rack to the oven.
- Bake for another 30-40 minutes. Begin checking the loaf at 30 minutes: the nuts and seeds should toast to a golden brown on the outside (but not to black). The loaf is done when it sounds hollow when tapped. (If the nuts are browning faster than the bread is sounding hollow, err on the side of a shorter baking time. The loaf will set when cooled.)
- Let the loaf cool completely before cutting – it will break apart if you don’t. Use a sharp serrated knife to cut thick slices.
- For the most tasty results, toast slices in the toaster before serving.
Notes
Adapted from MyNewRoots.org

