So fun to make and so yummy to eat, pumpkin gnocchi with ricotta requires only a mixing bowl and a spoon to create soft, pumpkin-filled pillows of deliciousness.

If you’ve been itching to take on a little DIY cooking project, I must give the thumbs-up to pumpkin ricotta gnocchi. It’s seasonally wonderful, with high-reward from reasonable effort. Seriously. If you can stir a batter, you can make ricotta gnocchi.
I made this pumpkin gnocchi specifically for a soup I had in mind (coming up next!), whipped up a big batch, and I’ve been using it up, meal by meal, ever since. A neat little project that’s made several dinners all the nicer.
I chose pumpkin and ricotta as gnocchi ingredients, rather than the more common white potato, because I wanted a winter squash influence on the gnocchi’s flavor and coloring. Plus, ricotta makes a beautiful, pillowy gnocchi that you just can’t get from starchy potatoes.

Ricotta gnocchi can be difficult to find in stores — at least around here — so homemade is the route I go when I want tender, pillowy morsels.
Ricotta gnocchi differs from the packaged potato gnocchi you’ll find at the grocery in that they’re much lighter and softer, like the dumplings in chicken soup but with a more substantial bite.

Pumpkin gnocchi has the easiest of beginnings: toss the in the first 5 ingredients. Stir. And then the magic happens.
At first, the pumpkin mixture will be a sticky mess — totally gnocchi-unfriendly — and you’ll wonder where it all went wrong, and start eyeing the garbage can while cursing me under your breath. Patience, Grasshopper!
As you start adding flour, the batter will slowly transform from a wet batter to workable dough. It might be tempting to just dump in all of the flour at once, and go at with your spoon. The goal with gnocchi, however, is to use as little flour as possible to keep the gnocchi light and fluffy.
How much flour do you add to the dough? Well, it’s going to depend on a few things: how dry your pumpkin puree is, the size of your egg, and even how humid it is in your kitchen. I photographed this batch of gnocchi early in October when we were having a bizarre heat wave. It was huuuumid, and I had to use more flour than I preferred.
It’s just one of those things where you’ll know it when it happens: the dough is incredibly sticky and absolutely unable to form gnocchi … until it’s not. And suddenly, the dough comes away from the bowl, and it’s handleable, and butterflies flit and puppies frolic, and you’re ready to go!
For this recipe, I do suggest that you drain your pumpkin puree first. Which sounds crazy, but a simple rest in a sieve extracts a surprising amount of liquid. And doing so will help your gnocchi stay light and tender, because you’ll use less flour.

Now let’s roll that dough!
Pumpkin gnocchi dough is tender and doesn’t need a lot of fussing. Just roll out the wedges you’ve cut from the dough ball into ropes about 1/2″ thick. Then a use a bench knife or knife to cut the rope into pillows.
How to make ridges in gnocchi
Why do gnocchi have ridges? Because ridges = sauce pockets! Gnocchi already have a texture that encourages sauces to cling to them, but the ridges add even more spots for sauce to pool. Delicious!
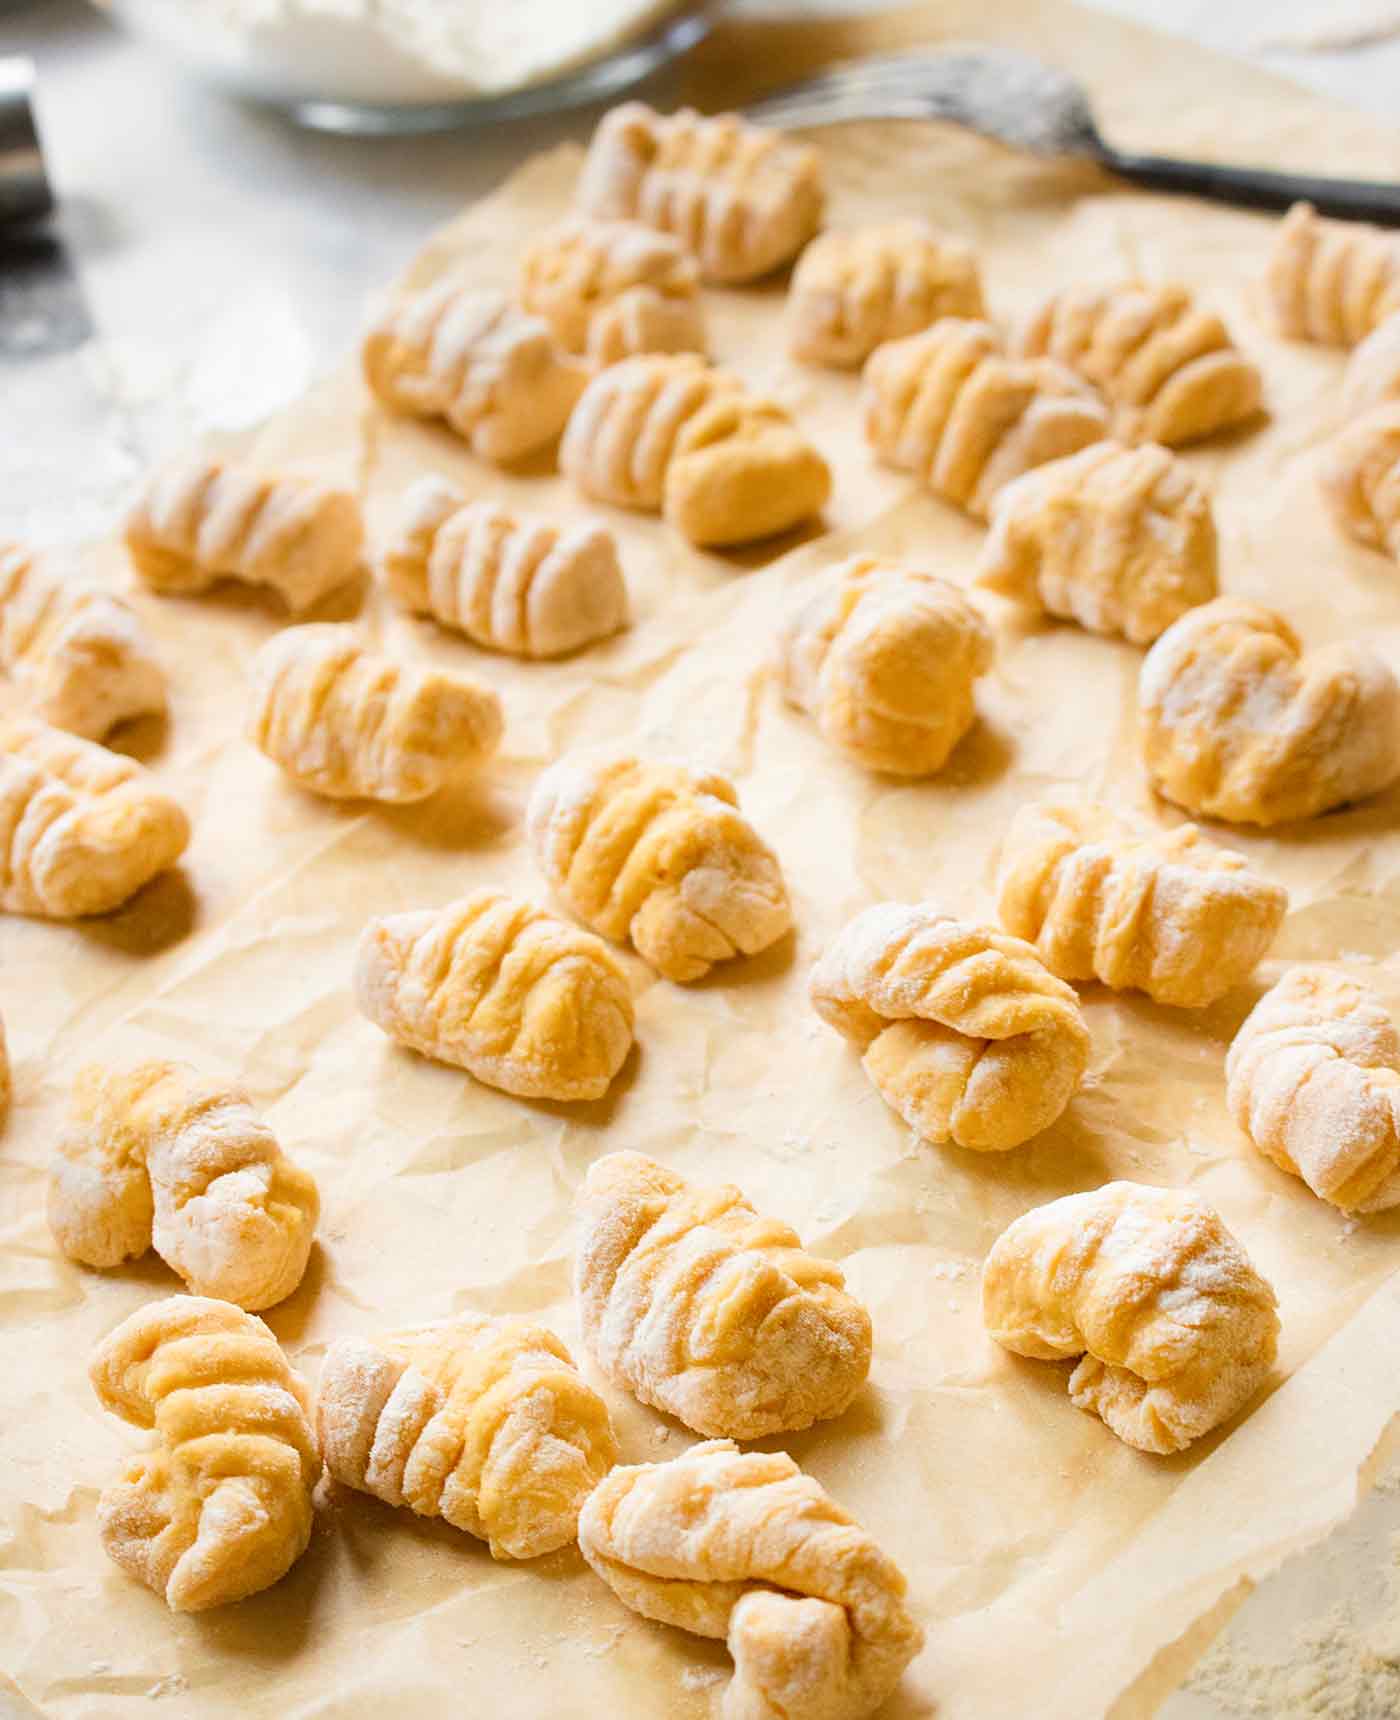
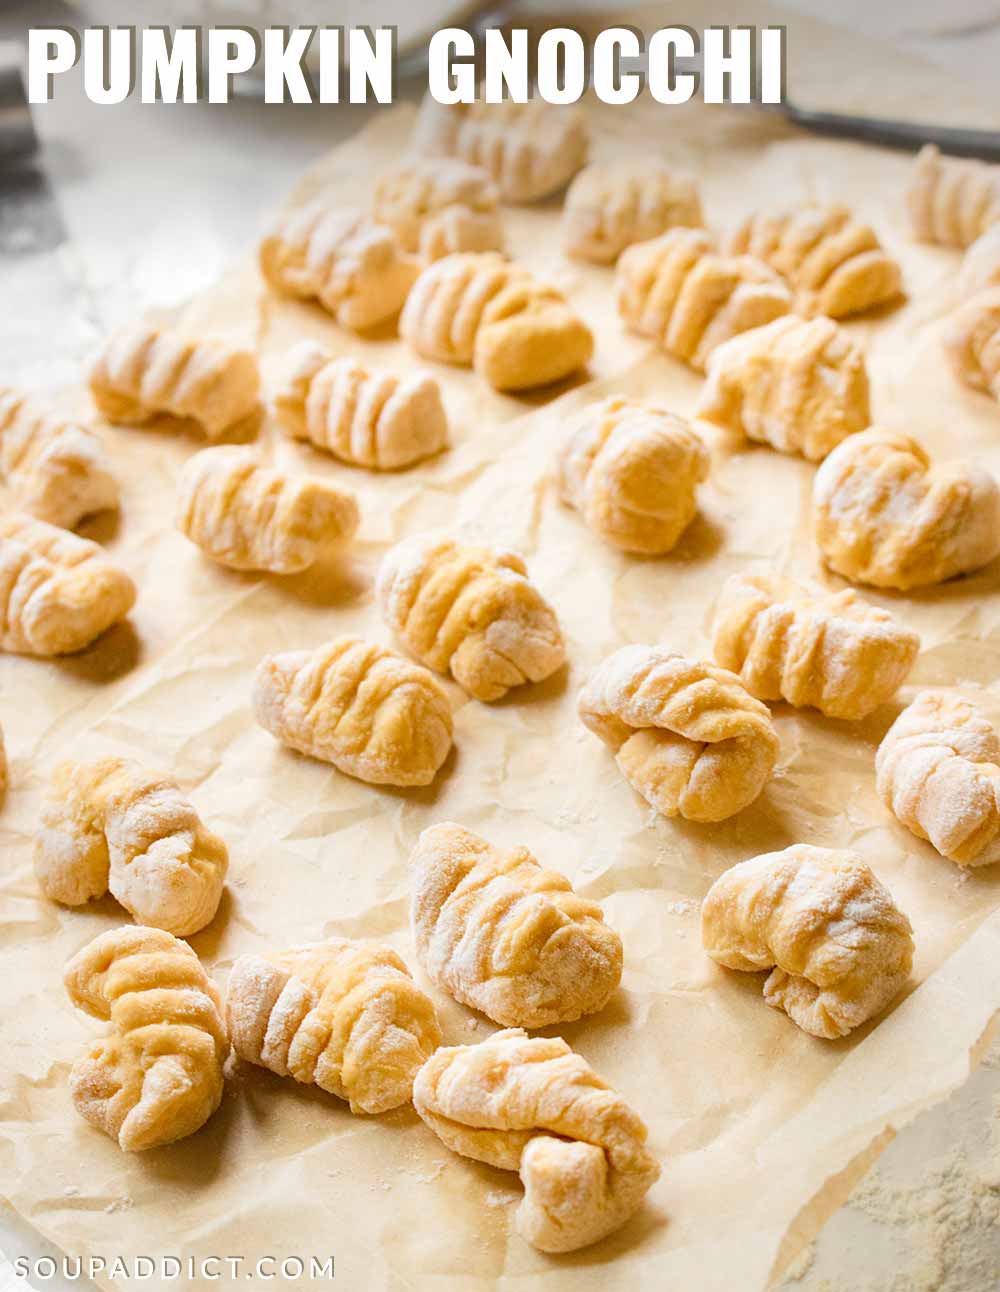
The very easiest way to make those classic gnocchi ridges is to press a fork into the pumpkin gnocchi. Don’t feel pressure to get more complicated than that.
You can also use a gnocchi board, which is a small, ridged paddle over which you roll the gnocchi. The two major advantages of using a gnocchi board are that the ridges are more consistent, and they don’t flatten the gnocchi the way a fork does.

But if you’re wanting to try a manual, semi-authentic gnocchi rolling technique, here’s what you do:
- In your non-dominant hand, take a large dinner fork with well-formed tines, and hold the fork upside down, at an angle with the tips of the tines resting on a cutting board.
- With your dominant hand, hold a gnocchi with your thumb and forefinger at the top of the tines.
- Roll the gnocchi down the tines with your thumb, pressing gently. The gnocchi should flatten out slightly and begin rolling up on itself.
- As you reach the bottom of the fork, the tender gnocchi might elongate a little – that’s okay, just pinch it back into pillow shape.
- If the gnocchi are slightly sticky, roll them briefly through a sprinkle of flour on your cutting board.
Plug your ears, Italian Grandmas: making the ridges in the gnocchi is optional, and will save you a good chunk of time if you don’t do it. I think they’re irresistibly cute, so I can’t help myself. (But I’m also the person who peels her chickpeas before making hummus, so, there you go.)
How long do you cook ricotta gnocchi?
It’s so easy to cook pumpkin gnocchi! Bring a pot of salted water to the boil, and gently tumble in the gnocchi, reducing the heat so the pot is not bubbling over. The gnocchi should puff up and begin to float to the surface. They’re fully cooked in about 3 minutes.

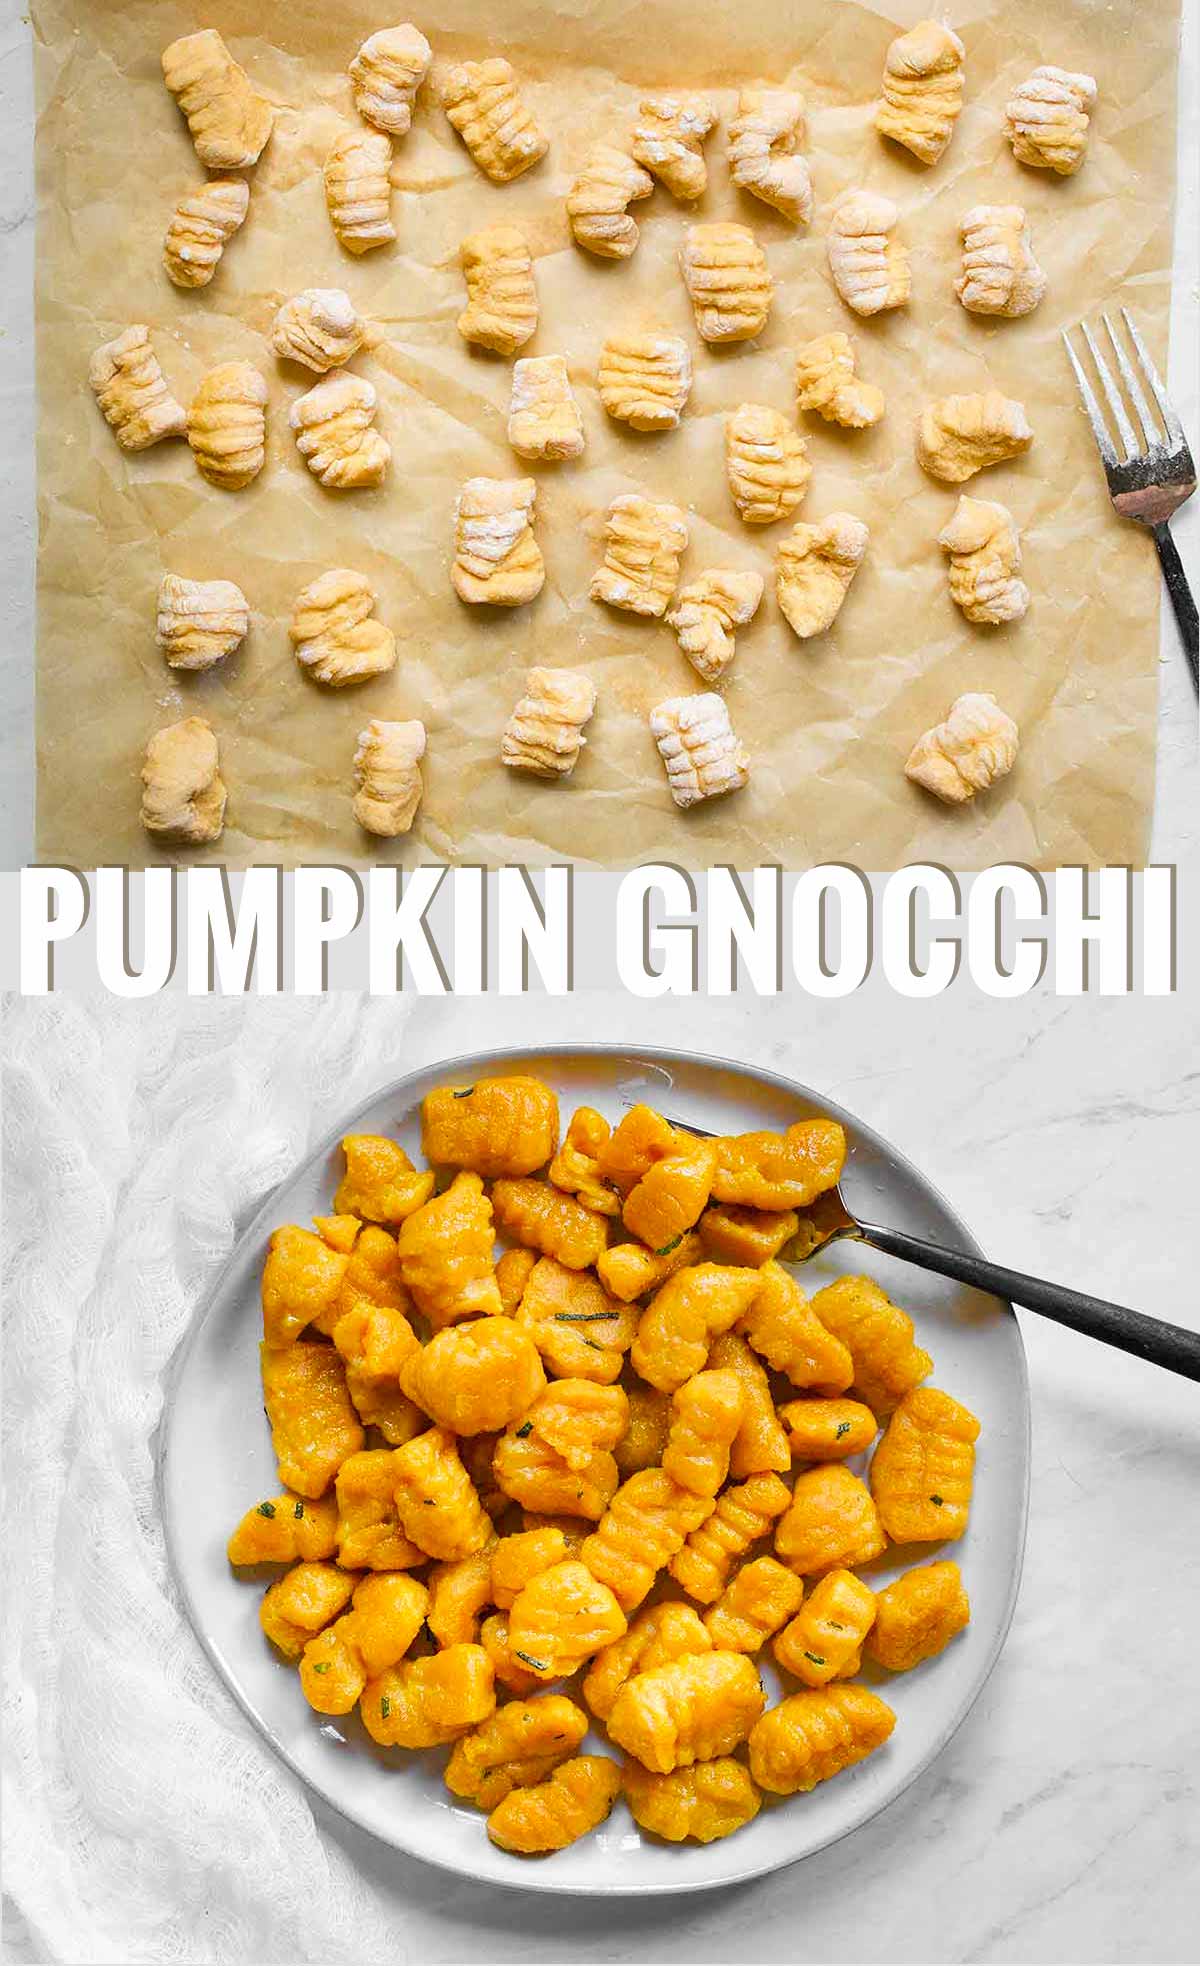
Pan frying the pumpkin gnocchi in a little butter and olive oil (after boiling) gives a crispy edge and a pillowy soft interior. Add some chopped fresh sage as the gnocchi are frying for extra autumn flavors.
Can ricotta gnocchi be frozen?
Yes, absolutely! One relaxing turn behind the counter makes enough gnocchi for a couple of meals. Simply spread the gnocchi on a sheet pan and stash it in the freezer for 15 minutes. They’ll be stiff enough at that point to transfer to a ziplock bag without clumping. Gnocchi cooks right from frozen, so you can design a last-minute, gnocchi-focused dinner without worrying about thawing first.
Make some gnocchi; eat some gnocchi; freeze some gnocchi. You’ll be glad to have them on hand when comfort food season really kicks in!
Karen xo
Pumpkin Gnocchi
Ingredients
- 2/3 cup pumpkin puree (not pie filling)
- 2/3 cup whole milk ricotta
- 1 egg
- 1/4 cup finely grated Parmesan cheese
- 1 teaspoon kosher salt
- 2-3 cups all-purpose flour
Instructions
- Spoon the pumpkin puree into a paper towel lined sieve and let drain for 15 minutes. This will reduce the need for extra flour, which will make the gnocchis dense instead of pillowy.
- In a medium mixing bowl, stir together the strained pumpkin puree, ricotta, egg, cheese and salt until combined.
- Fold 1 cup of flour into the pumpkin mixture. The dough will probably be quite sticky. Add another 1/4 cup of flour, and fold in. Continue adding flour by the 1/4 cup until it begins to cleanly pull away from the sides of the bowl. The dough will be quite soft and still slightly sticky, but handleable.
- Turn out the dough onto a well-floured surface. Form into a disk and cut into 4 to 6 wedges.
- Roll out the first wedge into a thin rope. Use a sharp knife or bench knife to cut the rope into 1" pieces. If the cut end of the rope flattens out too much, just pinch back into cylindrical shape, and continue cutting.
- Optional: press/roll each gnocchi with your thumb over the back of a fork to add traditional ridges to the gnocchi.
- To store: spread the gnocchi on a parchment lined baking sheet and freeze for 15 minutes. Transfer to ziplock bags and store in the freezer for up to a few a months. No need to thaw before boiling.
- To cook: Add gnocchis, fresh or frozen, to lightly salted boiling water. Reduce heat to maintain a gentle (not roiling) boil. They're fully cooked when puffy. They might also float. About 3 to 5 minutes.
- You can serve immediately with your favorite sauce. You can also pan fry boiled gnocchi in butter and olive oil, with some chopped sage, for a delicious dinner.
Nutrition
Pin Pumpkin Gnocchi recipe for later:
Pinterest fans, if you’d like to save this recipe for later, use these images (or any image above) to pin to your boards (they’re small here, but thanks to the magic of the interwebs, they’ll be full size when you pin them). Thanks for sharing, and most of all, thank you so much for reading this post! Blogging wouldn’t be any fun without you!


Cindy
Thursday 17th of February 2022
I love your recipes you explain so well and they are easy to follow. Your pumpkin soup with blue cheese is to die for n do surprising
SoupAddict
Thursday 17th of February 2022
Thank you so much!